Deploy a documentation site and make your first change. Mintlify uses a docs-as-code approach: every page maps to a file in your documentation . Edit locally or in the web editor and sync changes to your remote repository.Documentation Index
Fetch the complete documentation index at: https://mintlify-mintlify-condense-quickstart-v2.mintlify.app/llms.txt
Use this file to discover all available pages before exploring further.
Install the Mintlify skill and MCP servers for AI coding tools.
Deploy your site
Go to mintlify.com/start and complete onboarding. You’ll connect GitHub, select a repository, and install the GitHub App for automatic deployments. Your site deploys to a.mintlify.app URL.
Skip connecting a Git provider
Skip connecting a Git provider
Skip the Git connection during onboarding to start in the web editor immediately. Mintlify creates a private repository for you. Migrate to your own repository later from Git Settings. See Clone to your own repository.
View your site
Find your URL on the Overview page of your dashboard. Before sharing with users, consider adding a custom domain.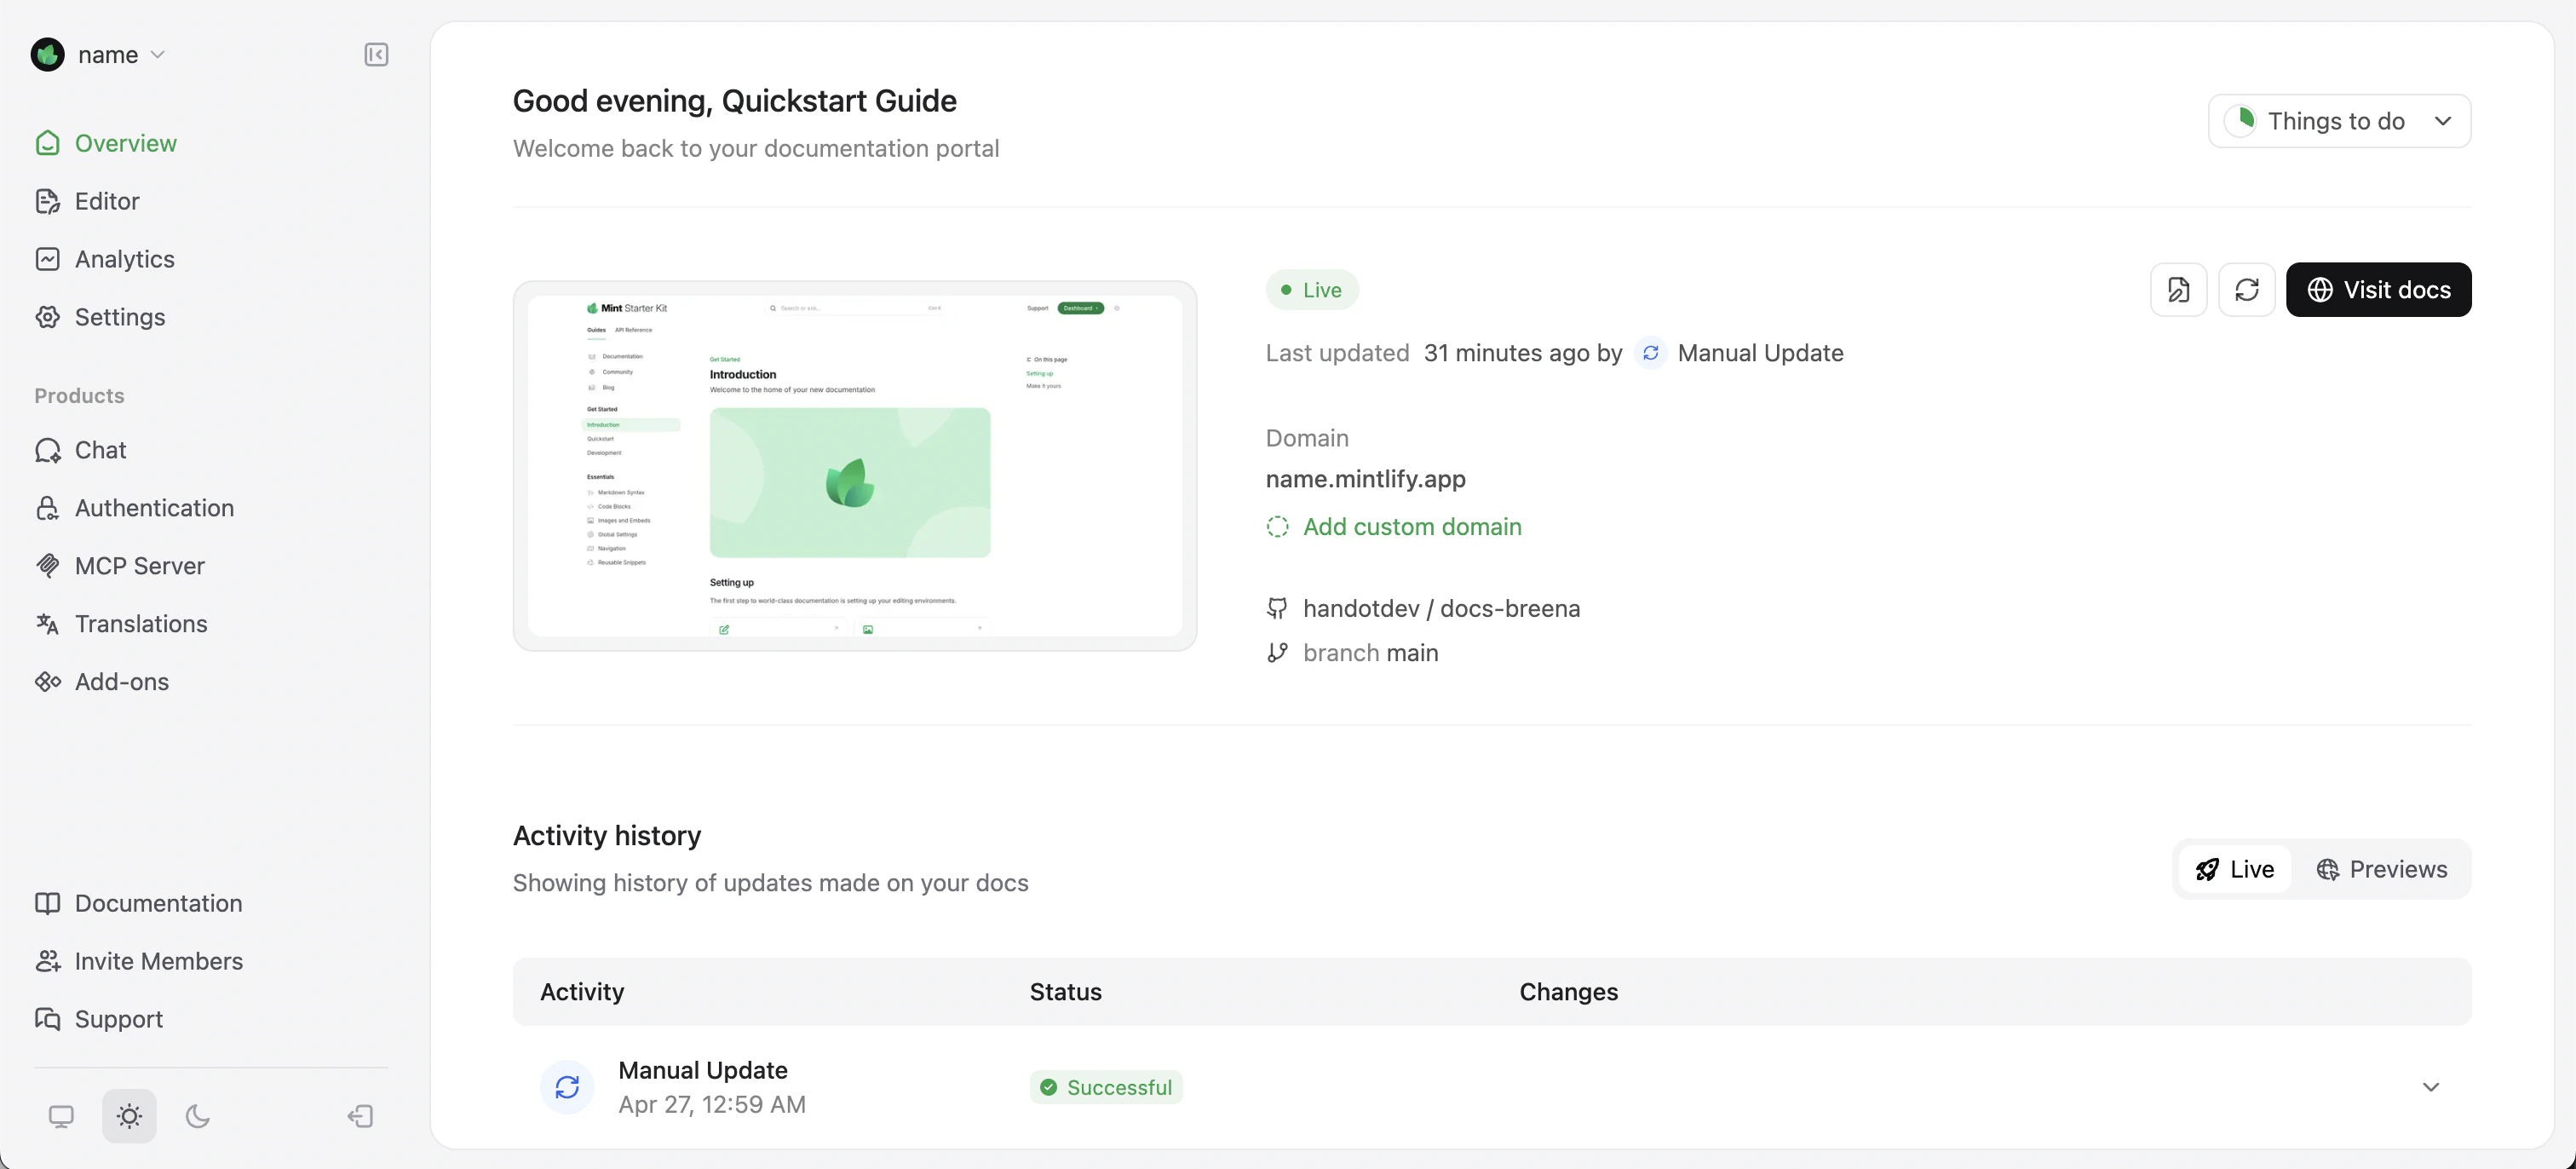

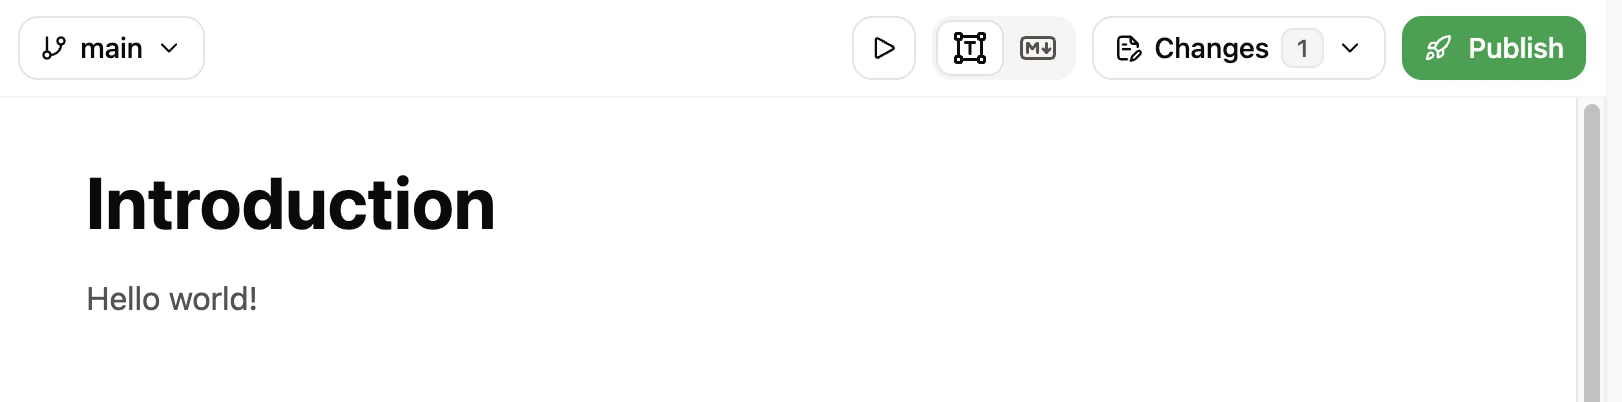
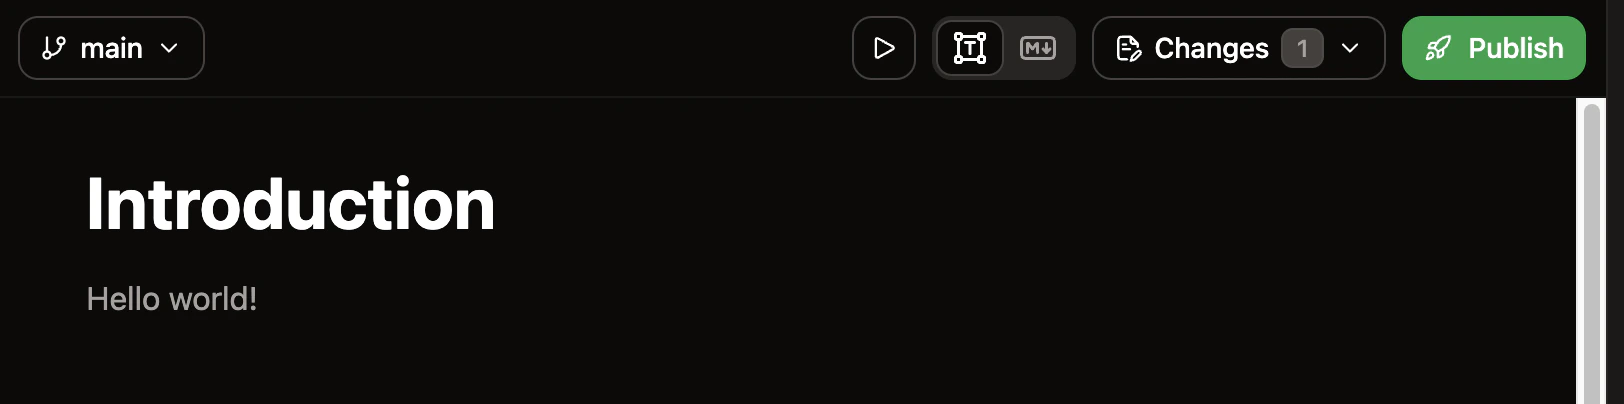
Make your first change
- CLI
- Web editor
Install the CLI
Requires Node.js v20.17.0 or higher.See Install the CLI for troubleshooting and cloning your repository.
Next steps
Use the web editor
Edit documentation in your browser and preview how your pages look when published.
Explore CLI commands
Find broken links, check accessibility, validate OpenAPI specs, and more.
Add a custom domain
Use your own domain for your documentation site.